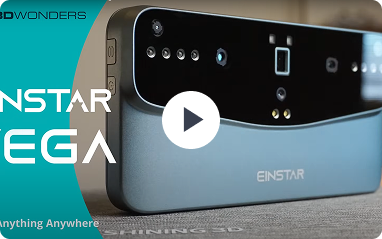
Einstar Vega Live Demo & Post-Processing with Star Vision

+91 98404 78347 | +91 6374 406 179

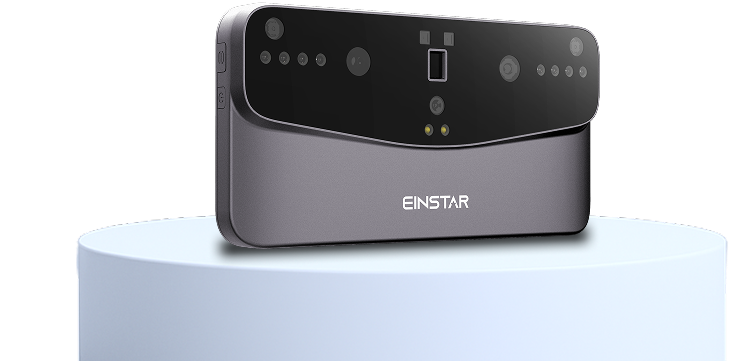
Two 3D Scanning technologies in one device: VCSEL and MEMS.
Complete Wireless 3D Scanner
3D Scan Anytime and Anywhere, Anything
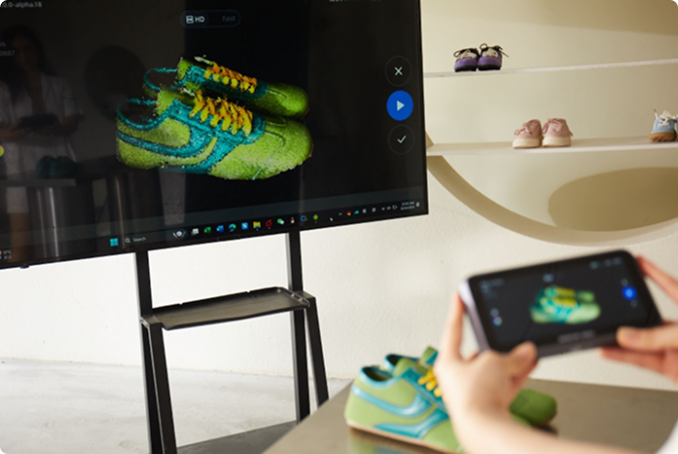
3D Scan, Save and Share the data from the device
Ergonomic Design with One-Click Scanning and Processing

sm@precise3dm.com | sales@precise3dm.com
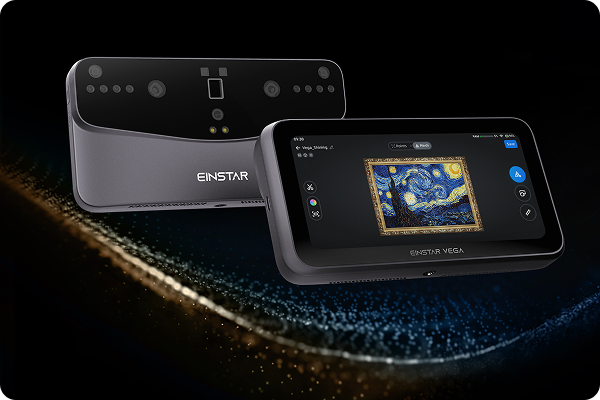
Pocket size, so you can take it wherever you go,
Inbuilt display, so you don't need a computer
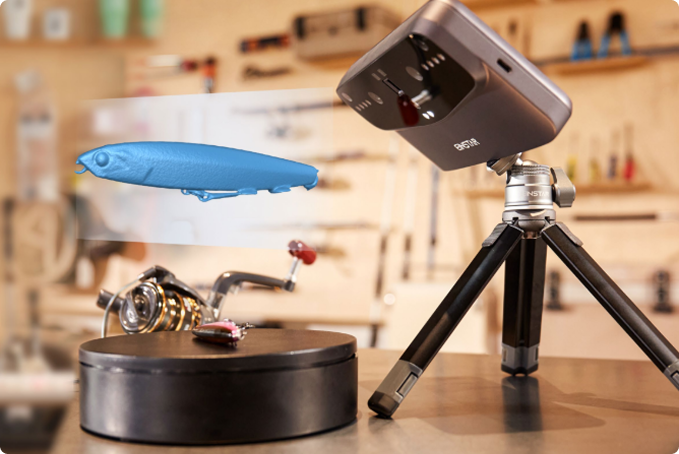
Scan small parts, large objects, so use it for a variety of scanning projects
Scan, save, and share the data at any time.
Infrared Vertical-Cavity Surface-Emitting Laser (VCSEL) technology uses a high-speed laser scanning system that makes the scanner more responsive and efficient when working on large objects.
The working distance from the object ranges from as close as 350 mm for small objects to as far as 1500 mm for larger objects.
Scanning speed up to 20 fps

Infrared Micro-Electro-Mechanical System has HD mode stable scanning that delivers precise and detailed 3D data.
Working distance 100~250 mm for small objects
Scanning speed up to 15 fps
Einstar Vega features a broader coverage to scan a multitude of objects, from objects with rich colors or soft features like skin, fabrics, or organic shapes to larger, more complex surfaces like industrial parts.
Infrared Vertical-Cavity Surface-Emitting Laser (VCSEL) technology uses a high-speed laser scanning system that makes the scanner more responsive and efficient when working on large objects.
The working distance from the object ranges from as close as 350 mm for small objects to as far as 1500 mm for larger objects.
Scanning speed up to 20 fps
Scan large objects with few markers, thanks to 12mm Marker Alignment (Fast Mode)
Maintain tracking accuracy with hybrid alignment
Easily fix alignment errors during scanning with Scanning Rewind
Use Auto Base Plane Detection to delete the surface that is unwanted
Adjust object orientation in 3D space with coordinate system adjustment
Measure dimensions directly from your 3D scan with the model measurement feature
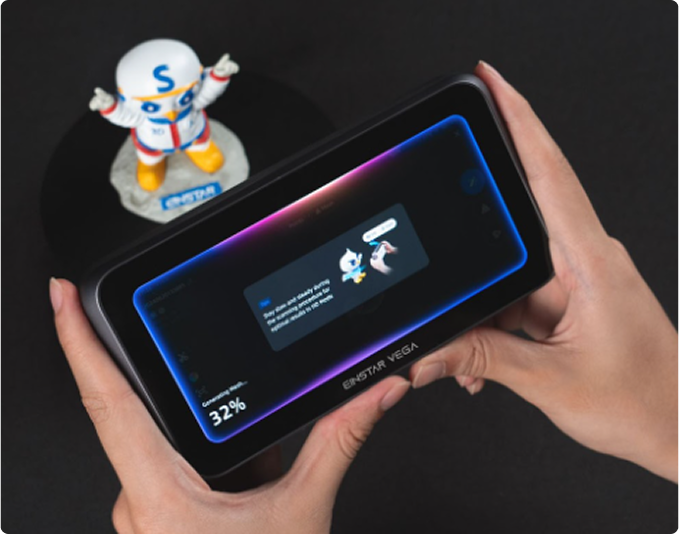
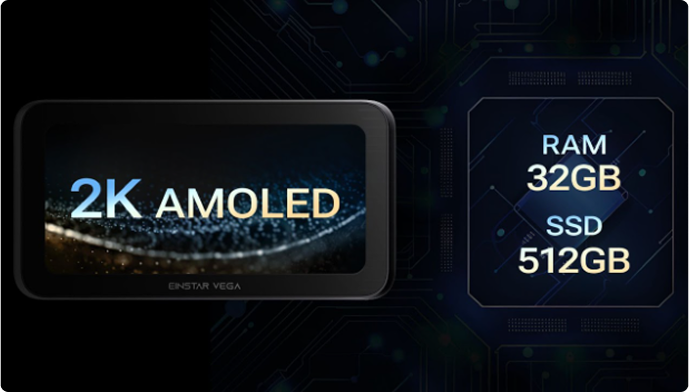
6.4-inch 2K AMOLED Display for sharp and vivid visuals
32 GB RAM storage for smooth operation while handling large files
Two storage options to save more 3D scan files: 32GB eMMC + 512GB SSD
535 g; lightweight and portable scanner
48 MP RGB Texture Camera to take super detailed, full-colour scans
Keep scanning while plugged in and charging.
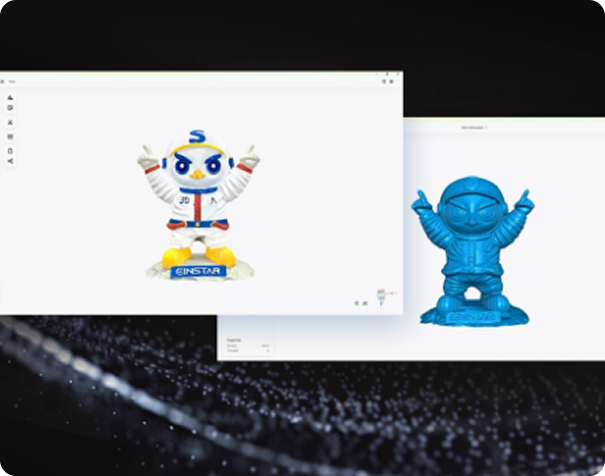
StarVision is the post-processing desktop software developed by SHINING 3D to enhance the flexibility and convenience of the Einstar Vega handheld scanner.
With a user-friendly interface, this desktop lets you quickly transfer scanned model files from the Einstar Vega to your computer with just one click. Once the files are imported, you can process and edit them directly in StarVision.
Here’s what you can do with StarVision:
Edit point cloud data to remove noise, trim unnecessary parts, and redefine details
Align point cloud data and combine multiple scans to get a unified and complete view
Convert point clouds into a solid 3D mesh model
Smooth, refine, or repair the mesh as needed
Fill holes, simplify geometry, and optimise your model for 3D printing, CAD, or digital use
Add high-quality, full-colour textures for a highly realistic image
Take precise measurements, length, angles, and surface area, directly on your 3D model
The SHINING 3D Cloud is a flexible cloud platform that SHINING 3D deploys to facilitate the secure storage, management, and sharing of 3D model files. Users can upload and store 3D model files in various formats, including STL, OBJ, PLY, GLTF, GLB, and FBX, with a file size limit of up to 500 MB.
Free 5GB space is provided to all SHINING 3D Users
Easily share 3D models with your team or clients for real-time collaboration
Convert point clouds into a solid 3D mesh model
Organise the files in folders and files
Search the files quickly using the filters
Add high-quality, full-colour textures for a highly realistic image
Measure dimensions, angles, and surface areas directly - no additional software required

| Scan Mode | HD Mode | Fast Mode |
|---|---|
| Point Distance | HD Mode: 0.05~3mm | Fast Mode: 0.5 ~ 10 mm |
| Working Distance | HD Mode: 100 ~ 350 mm | Fast Mode: 350 ~ 1500 mm |
| Align Modes | Hybrid | Feature | Texture | Markers |
| Outdoor Scanning | Yes |
| RAM | 32 GB LPDDR4 Memory |
| Internal Hard Drive | 32 GB eMMC + 512 GB SSD |
| Light Source | HD Mode: Infrared MEMS | Fast Mode: Infrared VCSEL |
| Capture Frame | HD Mode: Up to 15 fps | Fast Mode: Up to 20 fps |
| IR Camera Resolution | HD Mode: 2 MP | Fast Mode: 1.3 MP |
| Color Camera Resolution | 48MP |
| CPU | 8-core CPU, 2.4GHz |
| Touchscreen | 6.4” 2K OLED |
| Interface | Wi-Fi 6, USB Type C |
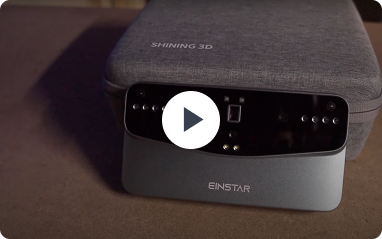
Einstar Vega Demo Videos
Einstar Vega Live Demo & Post-Processing with Star Vision
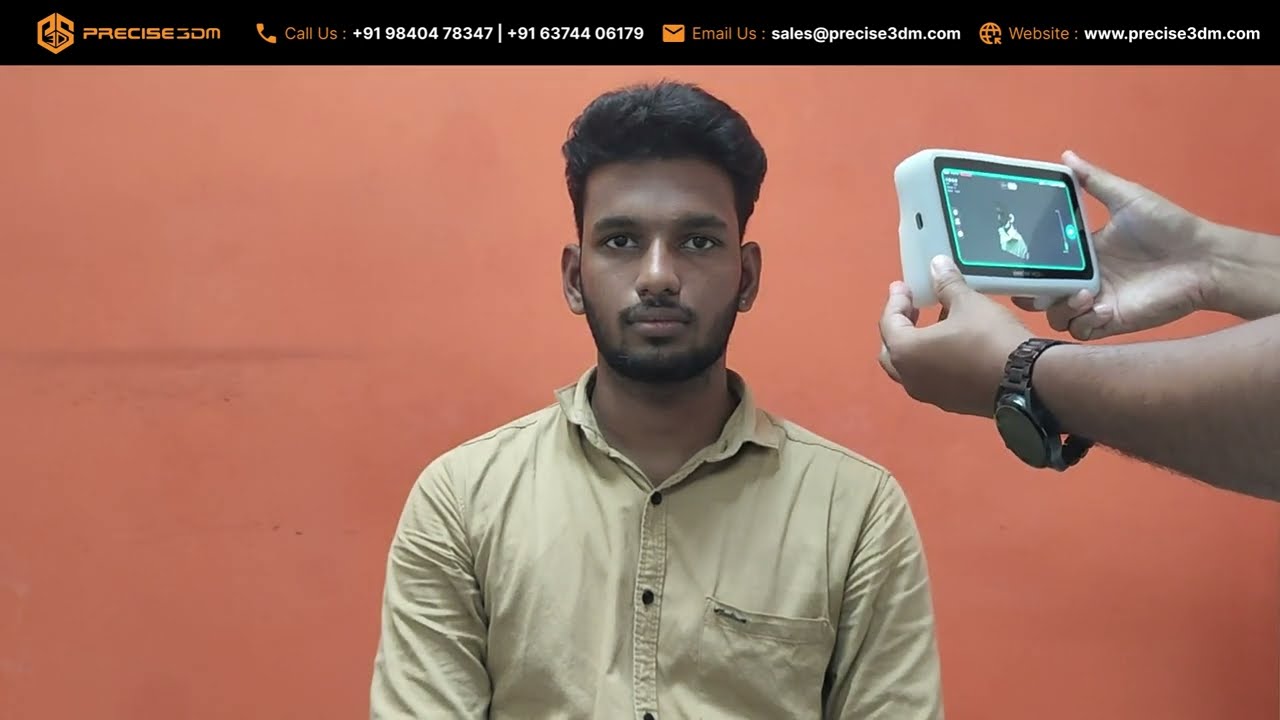
Human Body 3D Scanning using Einstar Vega
EndUnboxing Einstar VEGA & 3D Scanning using Tripod & Rotary Table| Precise3DM
After a full charge, the Einstar Vega runs for approximately 90 minutes when used continuously. However, the time depends on what application it is used for.
Here’s a simple procedure that you must follow:
Step 1. Connect the Einstar Vega to StarVision and click on the Transfer File option.
Step 2. Click on ⓘ in front of Einstar, click on ⚙️in front of Einstar, and then click on Export Logs.
Step 3. Now, open the log directory by clicking on the (?) option, and then tap on the open log directory button.
Step 4. Now, you can easily export the project files. However, you first need to import Vega’s internal projects into the workplace.
Einstar Vega’s texture light refers to a structured light or projected pattern light used to capture surface detail and texture during 3D scanning. Here’s how you can switch on the texture light:
Step 1. In the advanced settings, shift the toggle button to Object, under Scan Settings, and click on the Acquire Texture toggle button to on.
Step 2. Click on the Window button on the left window.
Step 3. Adjust the LED’s brightness as needed.
The ambient working temperature required by Einstar Vega is -10°C to 40°C.
Here’s how you can activate the scanner:
Press and hold the power button for 2 seconds, then release it when the startup animation appears.
Click on your network to connect the device to the wireless network.
Tap Next to register or log in to your SHINING 3D passport account.
Once you are successfully logged in, you will be directed to the scan interface.
Here are the two methods that you can use if calibration repeatedly fails on the Einstar Vega:
Method 1. Make the camera window cleaner by wiping it with a clean cloth. Ensure that the camera remains unobstructed during calibration.
Method 2. Under HD mode, increase the camera’s brightness.
If the above methods don’t work, then you can raise a ticket at Einstar Support, and your issue will be promptly resolved.